Artwork Setup Guide
How can you ensure the best printing results for your key card holder design? Follow our simple guide for advice on creating high-quality, print-ready artwork! Need help with any of the steps listed below? Simply get in touch with our friendly team!
Standard artwork setup guidelines
It’s always best to use one of our free key card templates if you’re ordering one of our in-house card holder styles, as these come with the measurements already set up for you.
- All artwork (including any imported images) should be designed and saved in CMYK mode within your design software; this helps to ensure the colours you see on screen are the same colours you’ll get when your key card holders are printed.
- The resolution of your artwork should be set to 300dpi; again including any images you’ve imported.
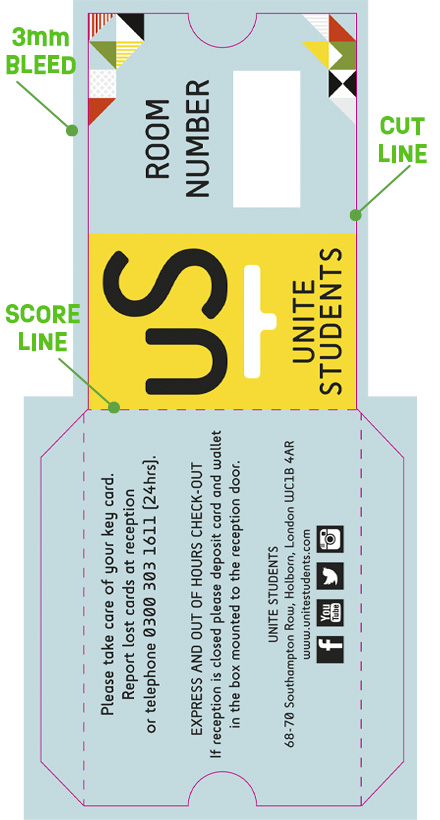
- Don’t forget to include a bleed area which extends at least 3mm out from the outline of your key card holder design. Any images, block colours etc which are intended to be printed up to the edge of your finished key card holders should be extended into the bleed area; this prevents any gaps between the edge of the ink and the edge of the paper caused by the natural tolerances of our trimming equipment.
- You should also set up a safe zone 3mm in from the key card design outline. Keep all important text, images, icons etc. within this safe zone or they may end up getting cut off when trimming your finished card holders.
- A typical folded card holder features four ‘pages’ (outer front cover, outer back cover, inner front cover and inner back cover). For key card holders, we recommend setting up your artwork as two double-page spreads (one for the inner covers and one for the outer covers – see our templates for examples).
- When saving, make sure any fonts are either embedded or converted to outlines. This preserves your font choices, even if we don’t have your chosen fonts installed on our computers.
- Remember to include crop marks when saving your artwork.
- High-resolution PDFs are the preferred format when saving your artwork, but Photoshop, InDesign and Illustrator project files are also accepted. Please note that interactive PDFs are not suitable for printing.
- Don’t forget to review and proofread your key card holder artwork before saving!


How to setup your artwork for custom shapes
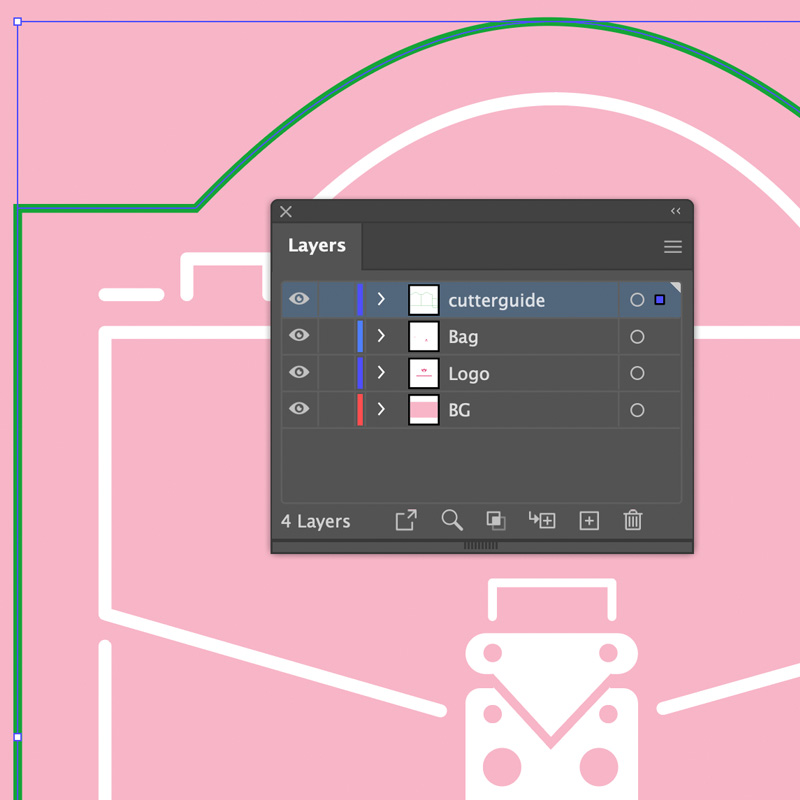
- All key card holders with custom shapes will need a cutter guide. This is simply a stroke outline in your artwork file which matches the shape and dimensions you’re looking to print. Use magenta or a similarly bright colour to keep the cutter guide distinct from your artwork.
- After designing the front and back outer covers, don’t forget to flip your cutter guide horizontally when designing your inner covers.
- If you’ve chosen one of our in-house shape options, don’t worry about setting up a cutter guide – just download the corresponding template from our site and get stuck in with artwork creation!

How to set up your artwork for foiling, spot UV, scratch-off latex and/or embossing
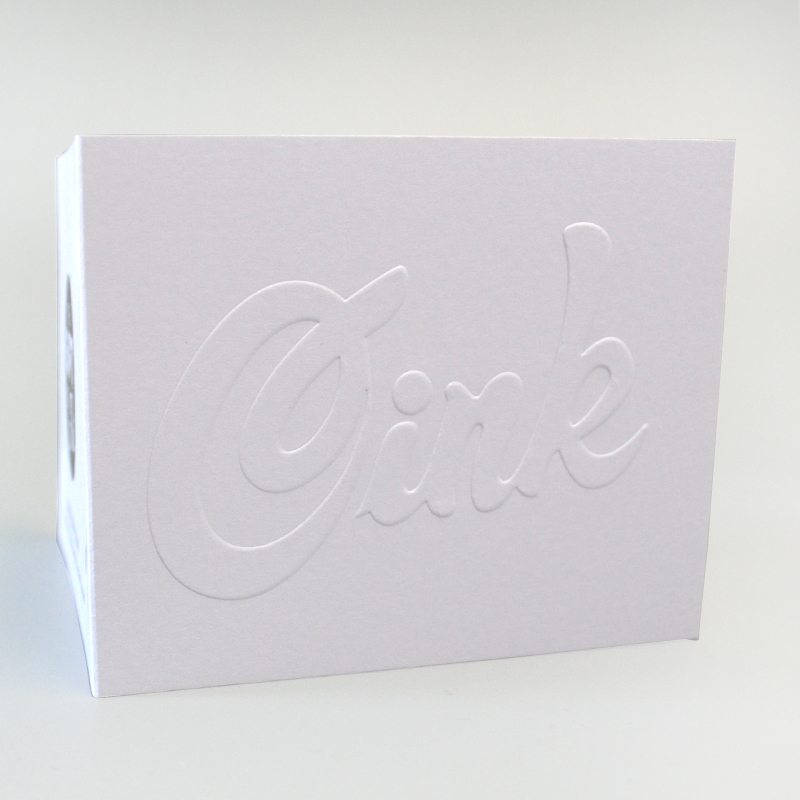
Keep all elements to be foiled, varnished or embossed/debossed on a separate layer in your design software, and label the layer appropriately to ensure it won’t get mixed up with the rest of your artwork.
For scratch-off latex, set up the size, shape and placement of the scratch-off panels on a separate layer to the rest of your artwork; again with an appropriate name.
Any overprinting can either be added straight onto the scratch-off panels layer, or added onto another layer on top of the panels layer.

How to set up your artwork for variable data printing
Set up a spreadsheet file of all the variable data you’re looking to print.
Each column should represent one of the variable types you want to print. For example, if you’re running a scratch-off giveaway, you might have one column for ‘Prizes’ and another for ‘Verification Codes’.
The first row in your spreadsheet should be reserved for the title of each column (eg ‘Prizes’, ‘Verification Codes’ etc) and each row after the first should represent one card holder/sleeve in your print run.
Type the variable elements for each key car holder/sleeve into each row. If you’re printing variable images or graphics, save each of them as a separate image file and type in the file names of each one into your spreadsheet.
Set up a ‘base’ artwork file. This artwork file should include all the elements which will be shared by every single card holder/sleeve in your print run.
It’s a good idea to set up placeholders for each variable element in your artwork file, so our team can see where you want the items to be placed and the styling/font etc you want for each one. Place these on a separate layer (again, renamed appropriately) and label each one with the names of your variable type columns.
Collect your spreadsheet file and saved artwork file in a single folder, and send the whole folder over to us! If you’re printing variable graphics, make sure all the image files are in this folder too; avoid using subfolders if possible.
Need help with preparing your design?
Get in touch for expert advice and support today